Work with Git in Katalon Studio - Platform Edition
In Katalon Studio - Platform Edition, Git integration is enabled by default. You cannot disable Git integration in Katalon Studio - Platform Edition.
A Git repository URL is required to open a project in Katalon Studio - Platform Edition. See: Open a project in Katalon Studio - Platform Edition.
You can view your Git repository URL in Project Information. See: Project Information in Katalon Studio - Platform Edition.
This document shows you how to work with Git in Katalon Studio - Platform Edition versions 8.5.0 and 8.5.5. From version 8.6.0 onwards, see Work with Git in Katalon Studio.
Log in to Git account in Katalon Studio - Platform Edition
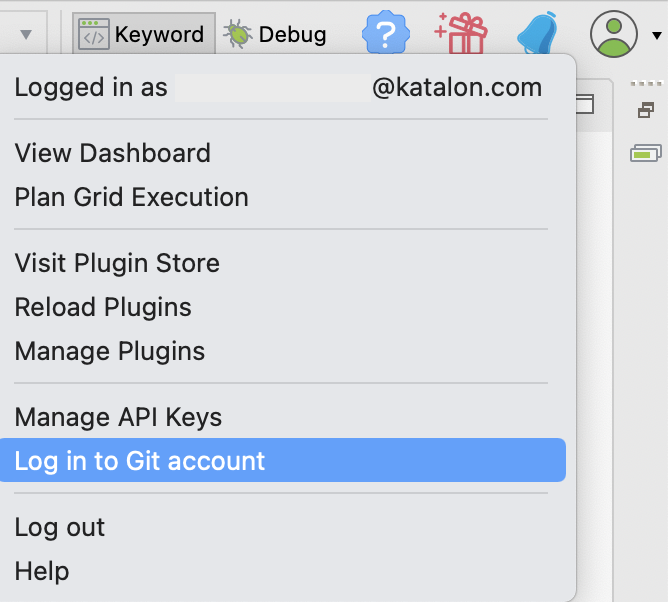
If your Git personal access token expires, you can update the new token in Katalon Studio - Platform Edition. Do as follows:
- Click on the dropdown of the Profile icon and choose Log in to Git.
- In the Log in to Git dialog, enter your Git Username and Git Personal Access Token.
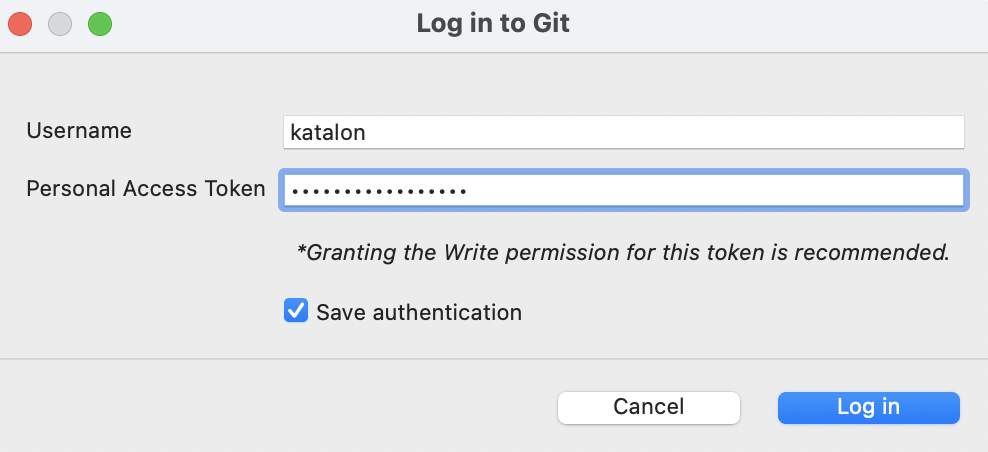 Granting the Write permission for this token is recommended. You can click Save authentication to remember this credentials for the next time opening this project.
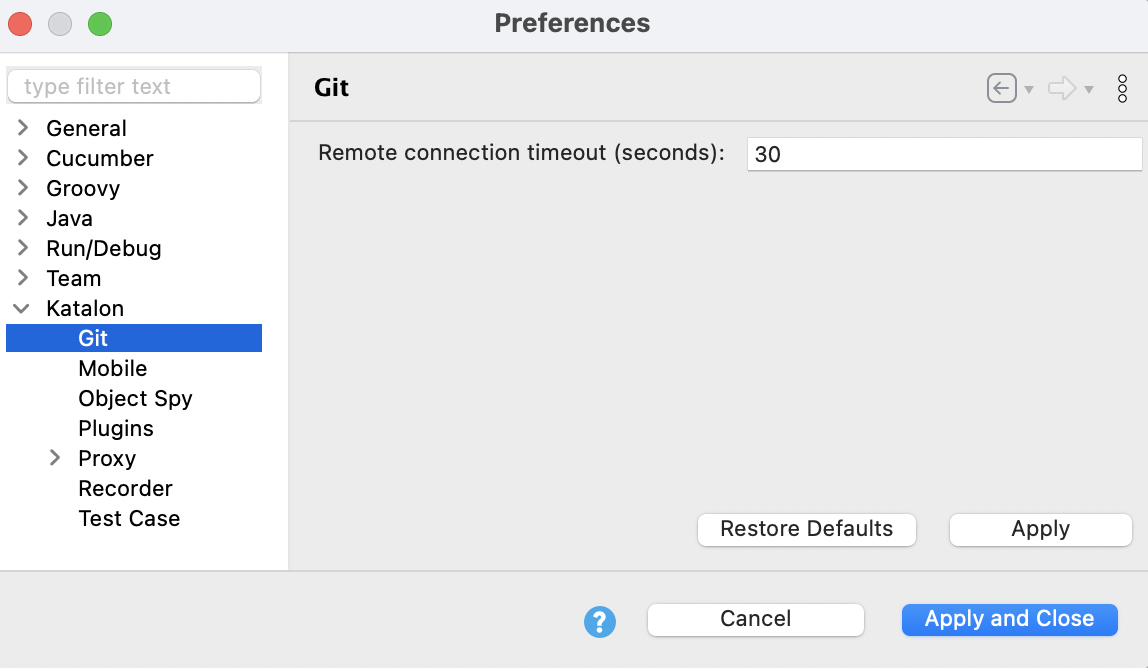
Set remote connection timeout for Git
- From the main menu, go to Preferences > Katalon > Git.
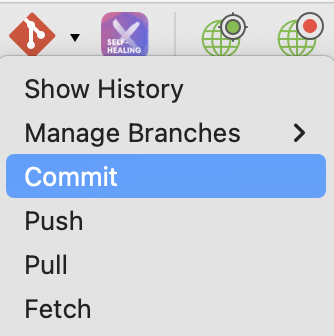
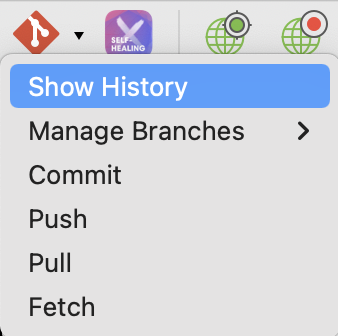
Commit
The Commit option allows users to view all current changes and decide which changes are stored in the local branch. For more information on the commit command, refer to this Git document: Git commit.
Do as follows:- In the main toolbar, click on Git dropdown arrow > Commit.
- The Git Staging tab is displayed for configuration.
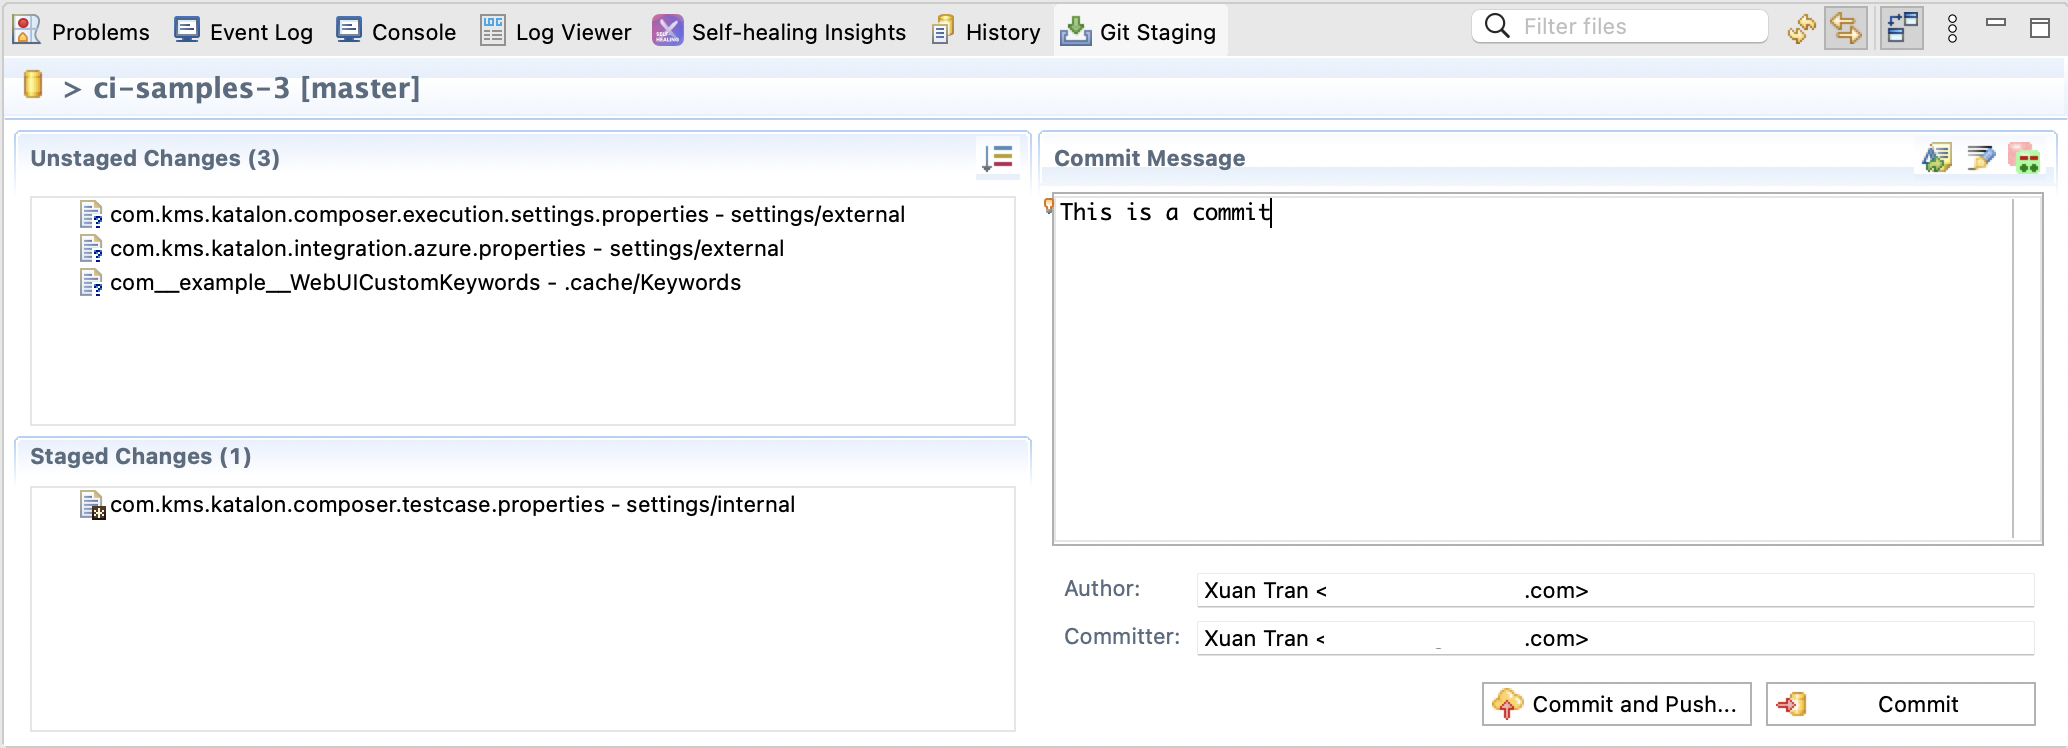
Field Description Unstaged Changes Changes which have been made. Staged Changes Selected changes from Unstaged Changes. These changes are committed.
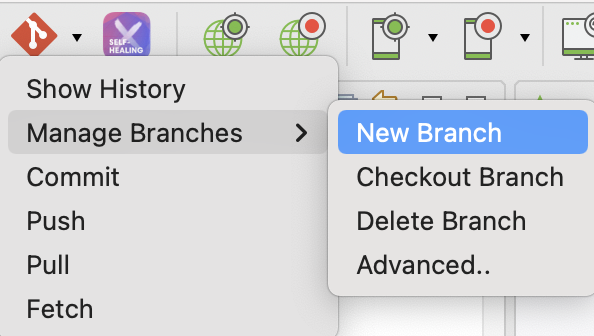
Manage Branches
New Branch
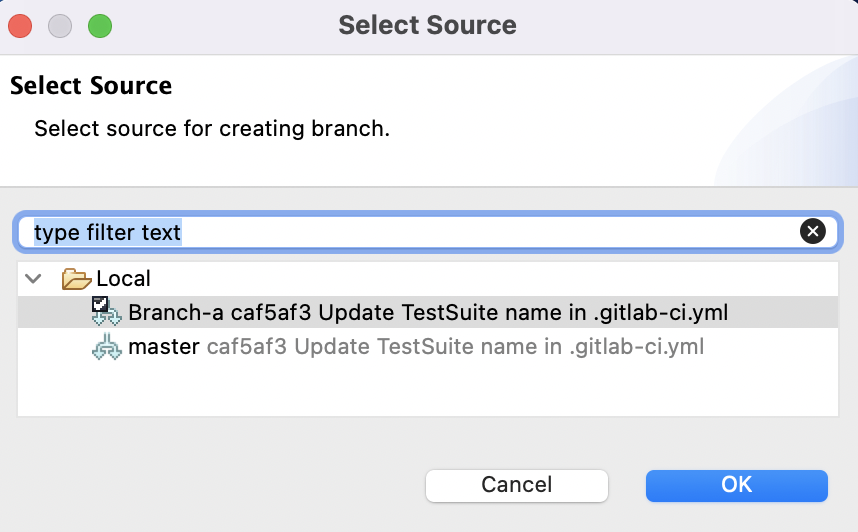
- In the main toolbar, click on Git dropdown arrow > Manage Branches > New Branch.
- The Create Branch dialog displays.
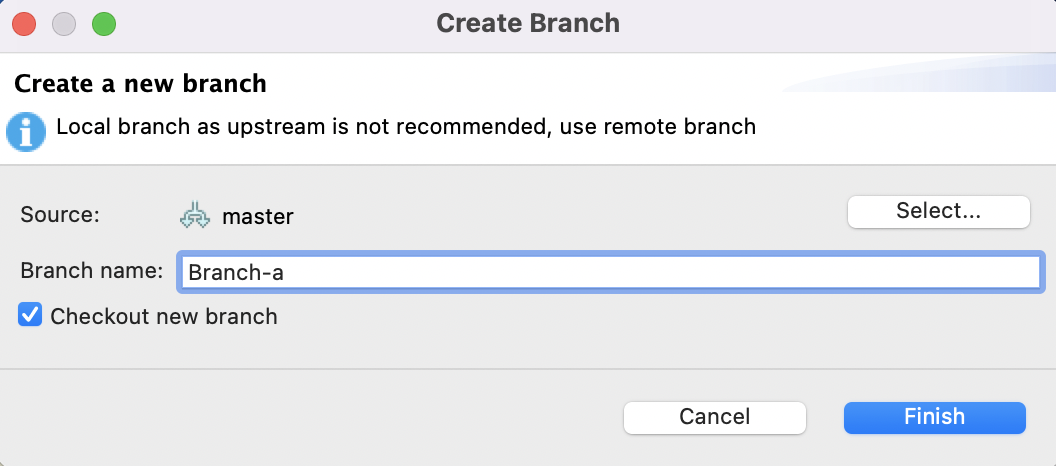
Field Description Source Select either remote or local branch, which is your source branch. 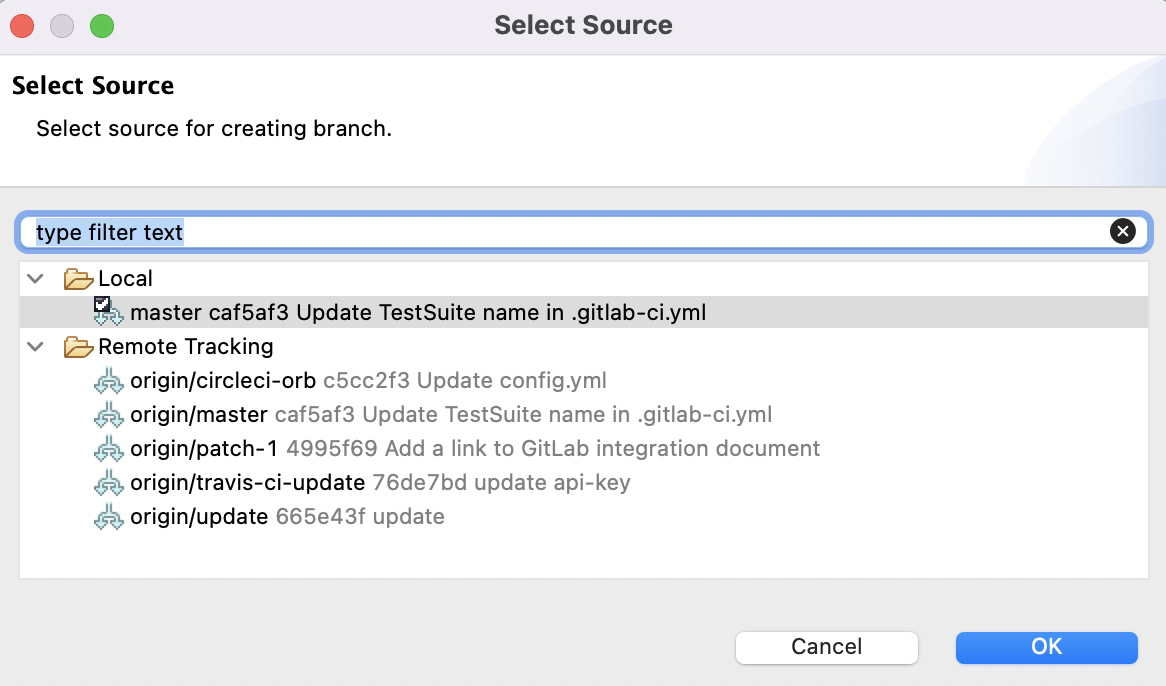
Branch name The name to be used for the new branch. Checkout new branch Option to let Katalon Studio checkout that branch after created.
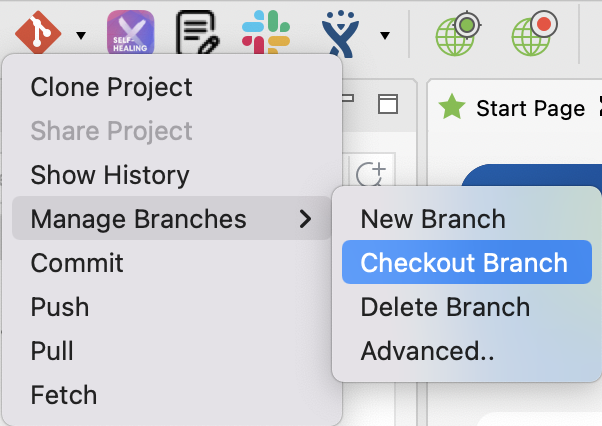
Checkout Branch
Do as follows:
- Manage Branches > Checkout Branch.
- The Select Source dialog displays.Select the local branch you want to check out to be the current branch. The branch with a √ icon is your current local branch.
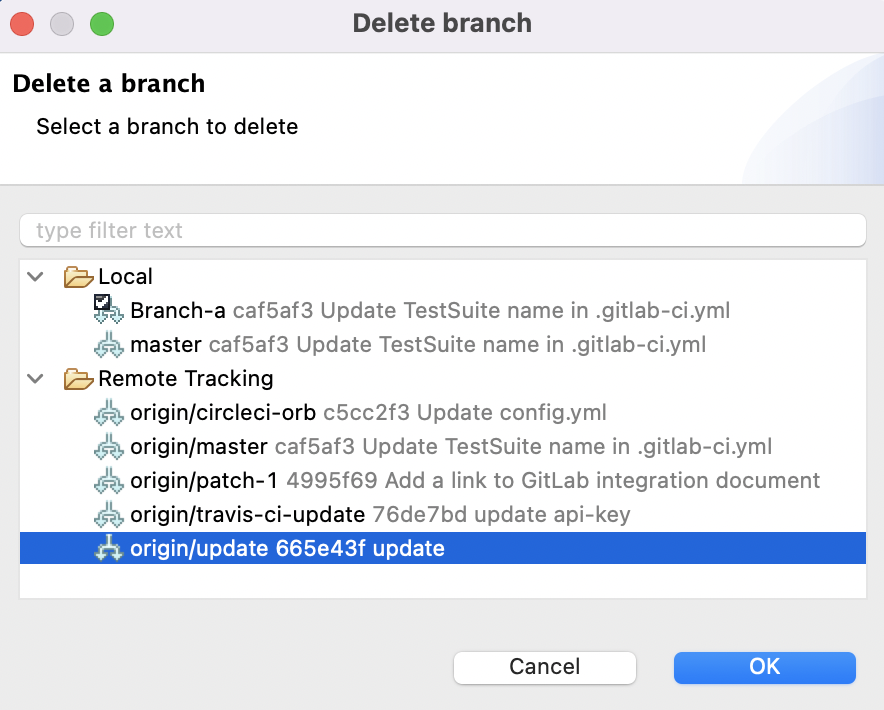
Delete Branch
- In the main toolbar, click on Git dropdown arrow > Manage Branches > Delete Branch.
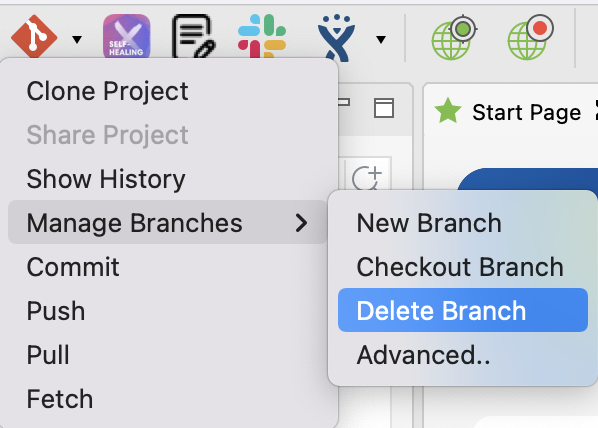
- In the Delete Branch dialog, both local and remote branches are displayed. Select a branch to delete.
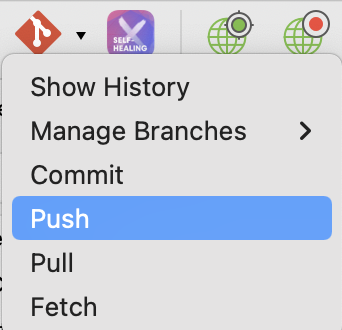
Push
- Before doing any push, you need to commit your changes.
Do as follows:
- In the main toolbar, click on Git dropdown arrow > Push.
The Push Branch master dialog appears.
- Choose from the Remote branch list which branch to be updated (All remote branches in your Git repository are listed here).
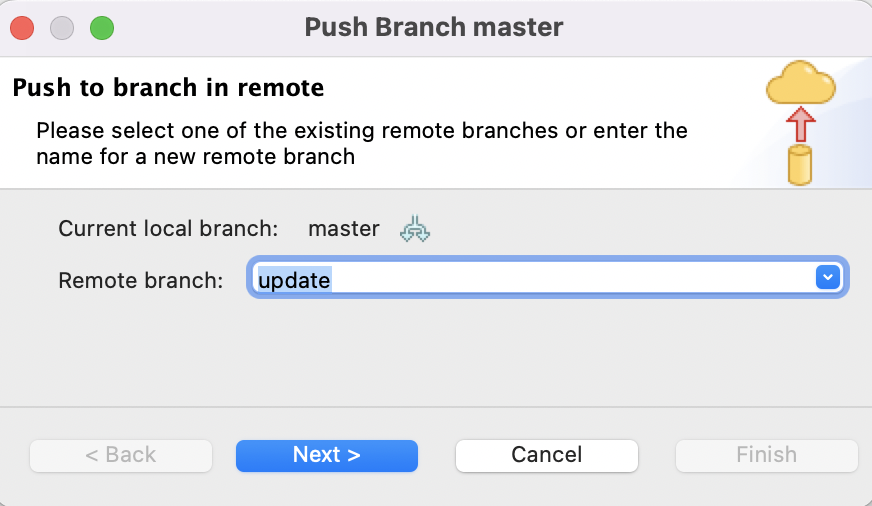 Click Next after finishing selecting your remote branch.Note:
- If you enter a name besides the listed branches, a new remote branch with that name is created accordingly.
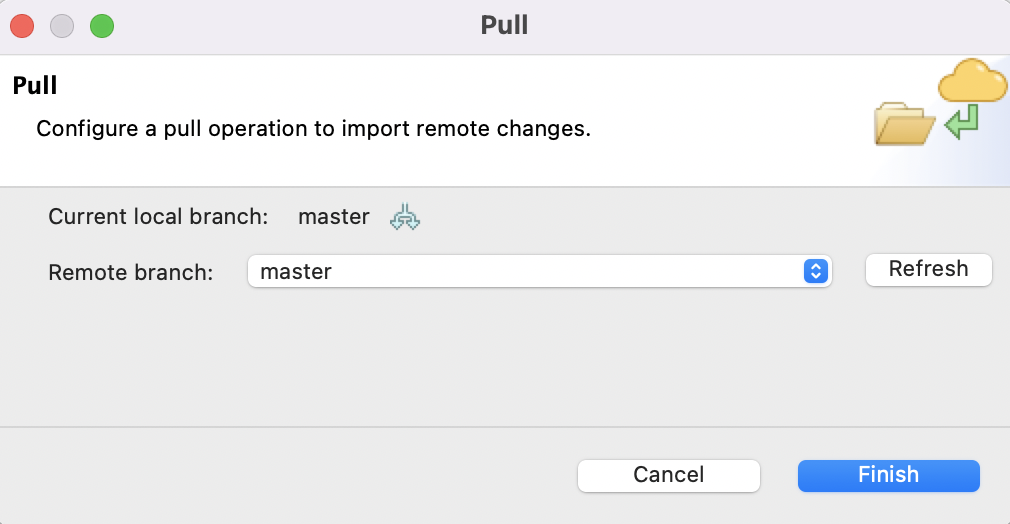
Pull
Do as follows:
- In the main toolbar, click on Git dropdown arrow > Pull.
The Pull dialog appears.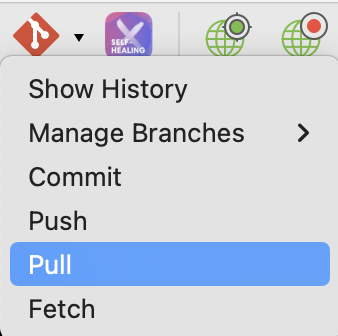
- Select the remote branch to be pulled into your local branch.
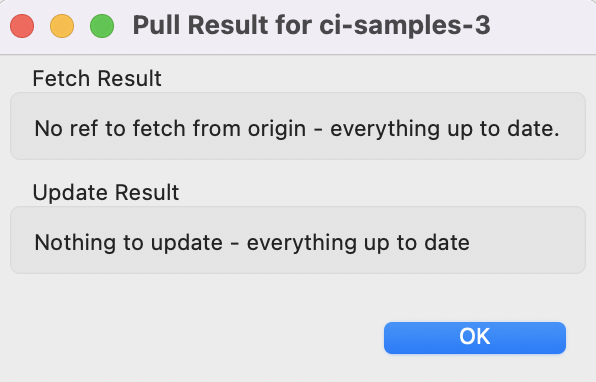
- The Pull Result dialog displays information about pulling requests on the selected branch.
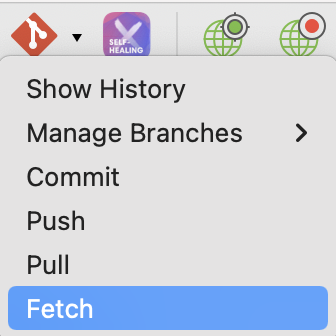
Fetch
Do as follows:
- In the main toolbar, click on Git dropdown arrow > Fetch.
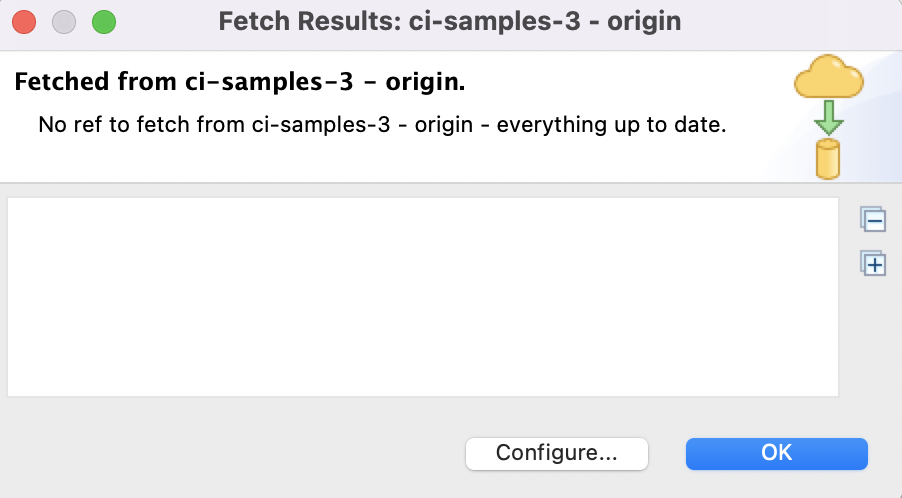
- The Fetch Results dialog appears.Remote branches, tags, and remote changes are fetched automatically.
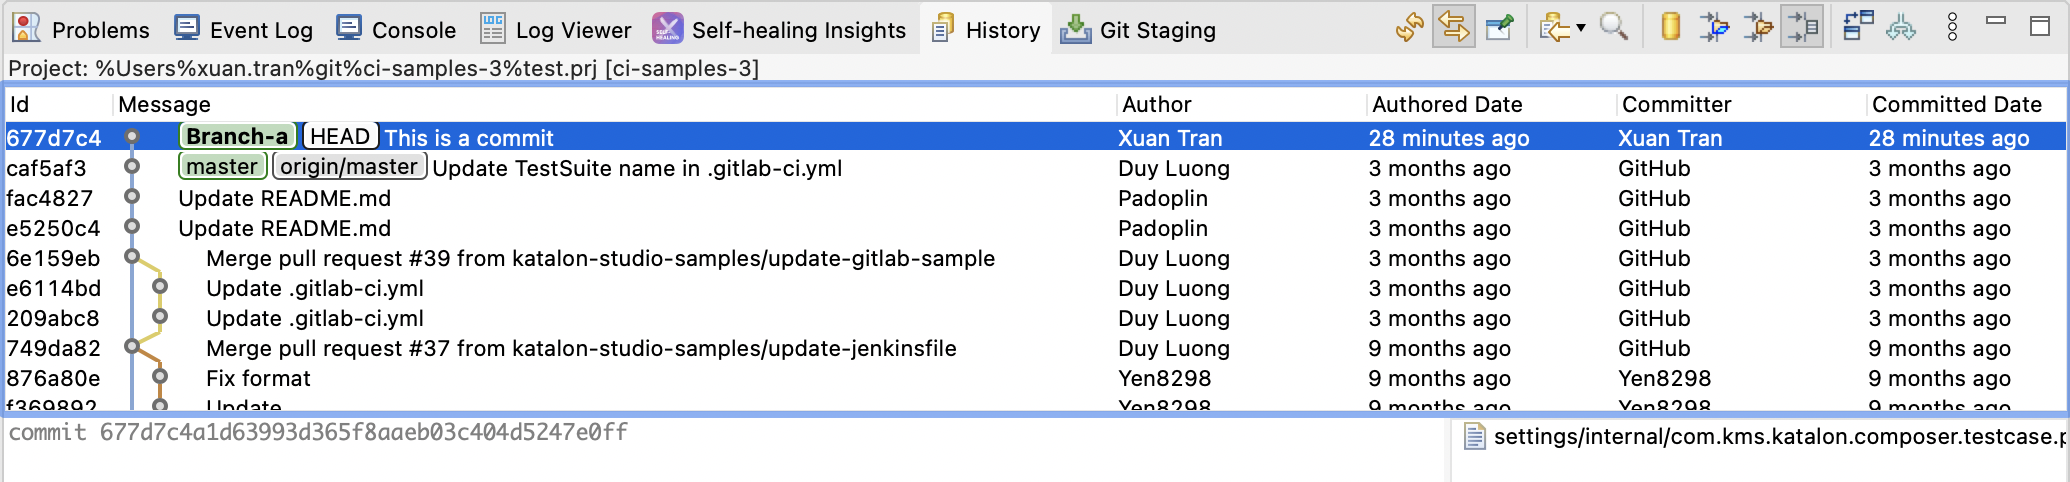
- In the main toolbar, click Show History.
- The History tab appears.Details regarding all the branches and tags you've just fetched are displayed.