Manage test suites in Katalon TestOps
You can create, update and manage test suites in Katalon TestOps.
By doing so, you save time creating the test suite in Katalon Studio and uploading it to a Git script repository on TestOps.
Create a test suite
You have at least one Katalon project.
You have created a Git script repository in Katalon TestOps. See: Upload Test Scripts from a Git Repository.
- Click on + Test Suite. The Create new Test Suite dialog appears as below.
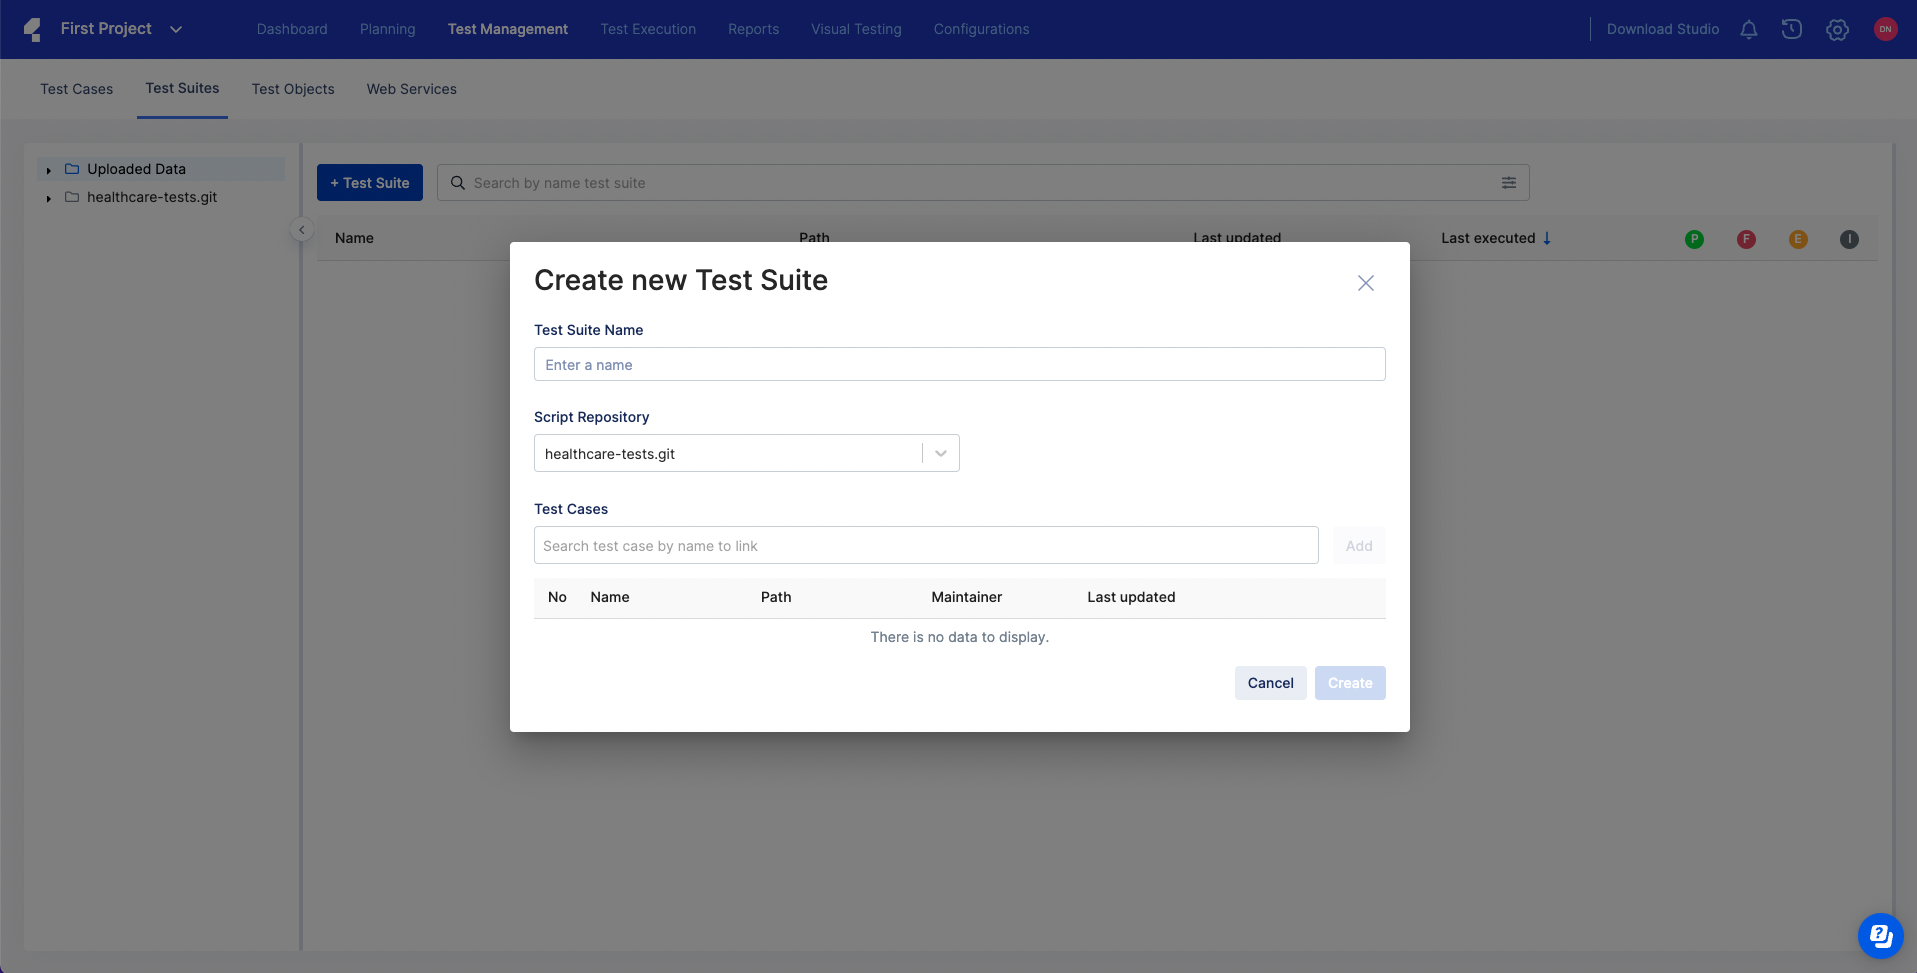
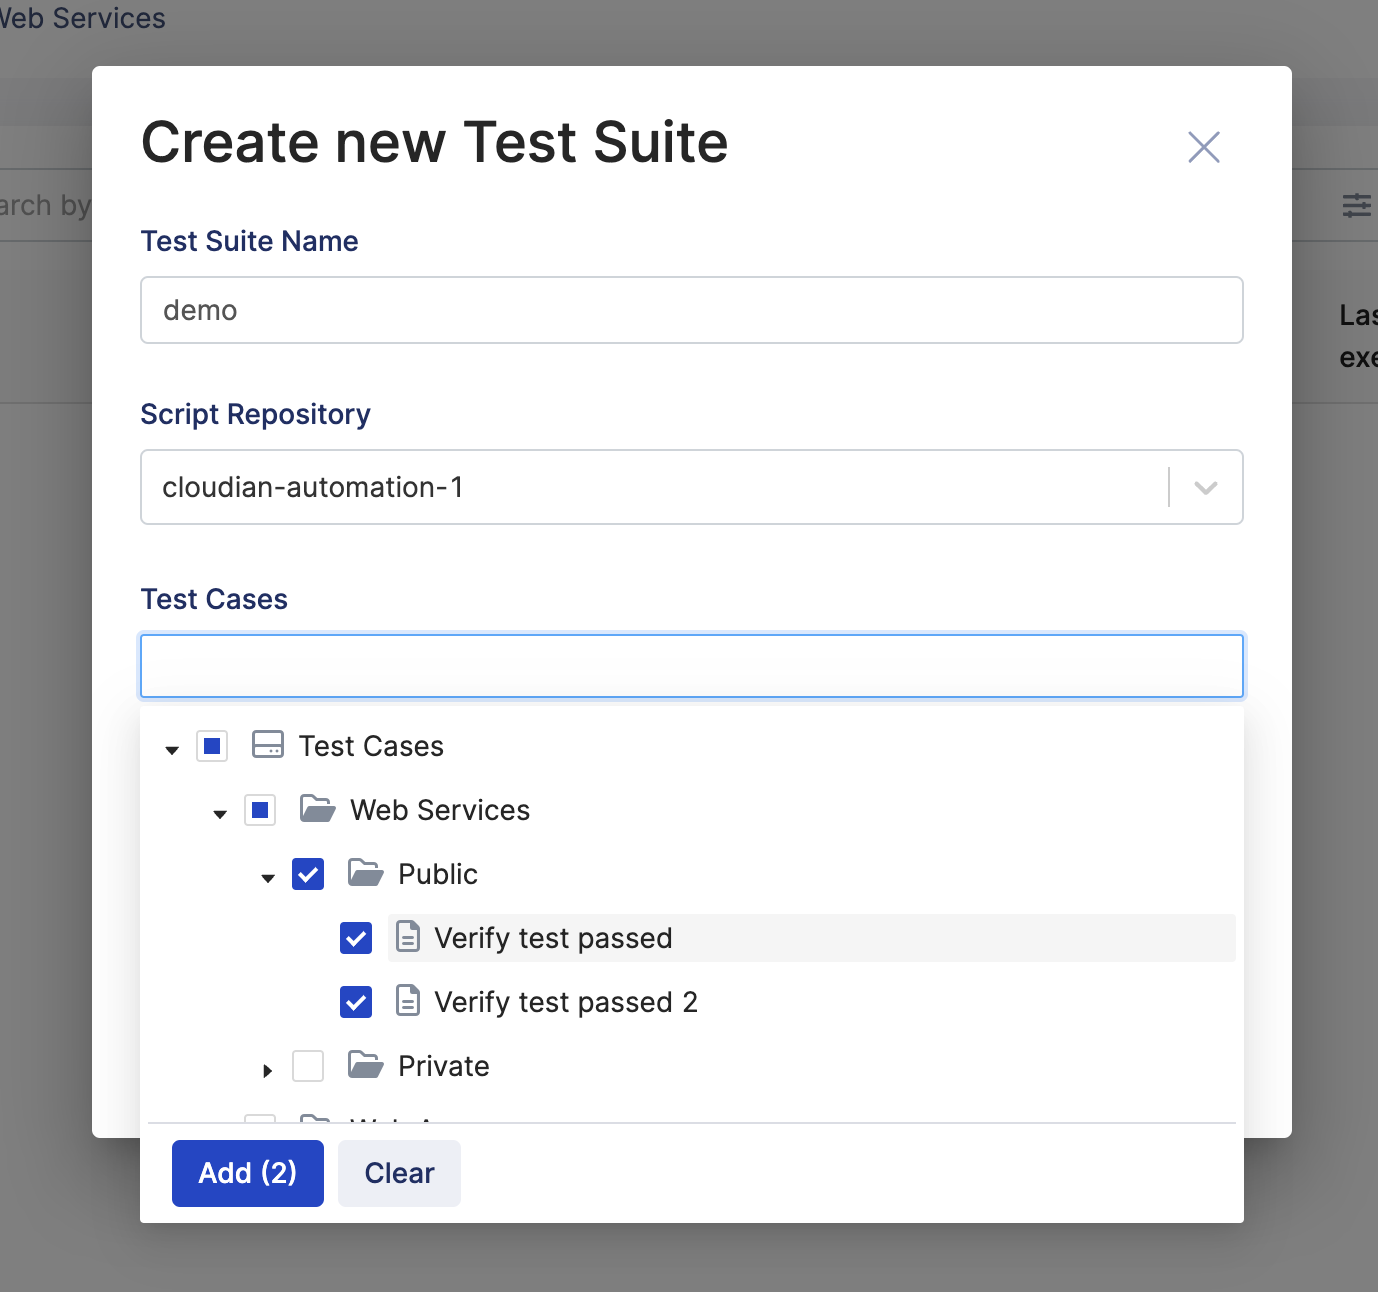
- Give your test suite a name.
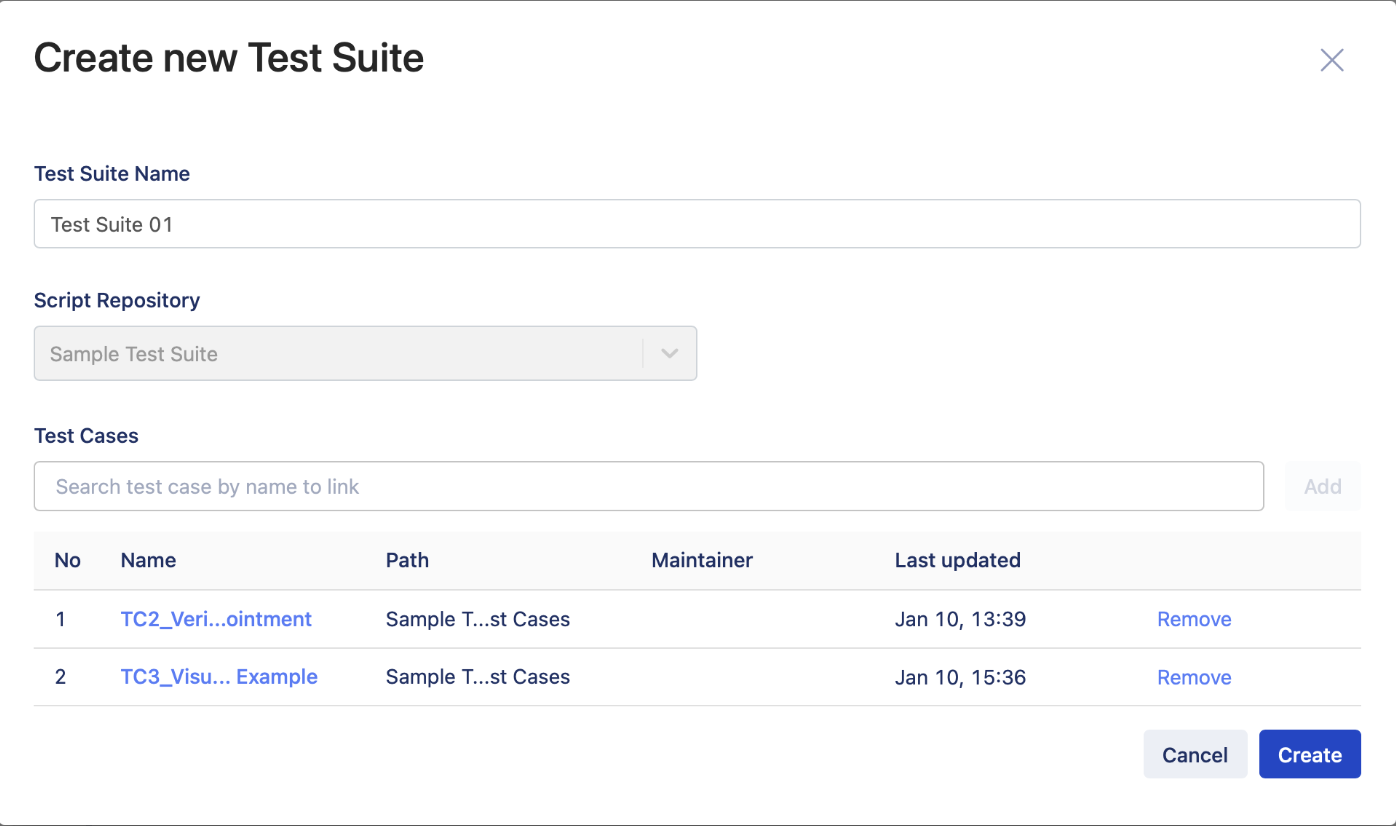
- Choose test cases, then select Add to add them to your test suite.
- Katalon TestOps has a refresh feature where you can sync the latest version of your Git repository to TestOps. To ensure the default system TestOps folder remains unaffected by this feature, Katalon TestOps ignores any other folder named "TestOps" in your Git repository. Therefore, do not use "TestOps" when naming test suites in Katalon Studio or your script repositories. See more about the refresh feature here: Sync your Git repository latest versions to Katalon TestOps.
Update a test suite
Katalon TestOps has a re-import feature where you can import test reports repeatedly. This feature only recognizes the original name of the test suite you have created. If you rename the test suite and then re-import reports, TestOps might not recognize the new test suite name, and consequently, fail to import the latest data. Therefore, rename your test suite with caution.
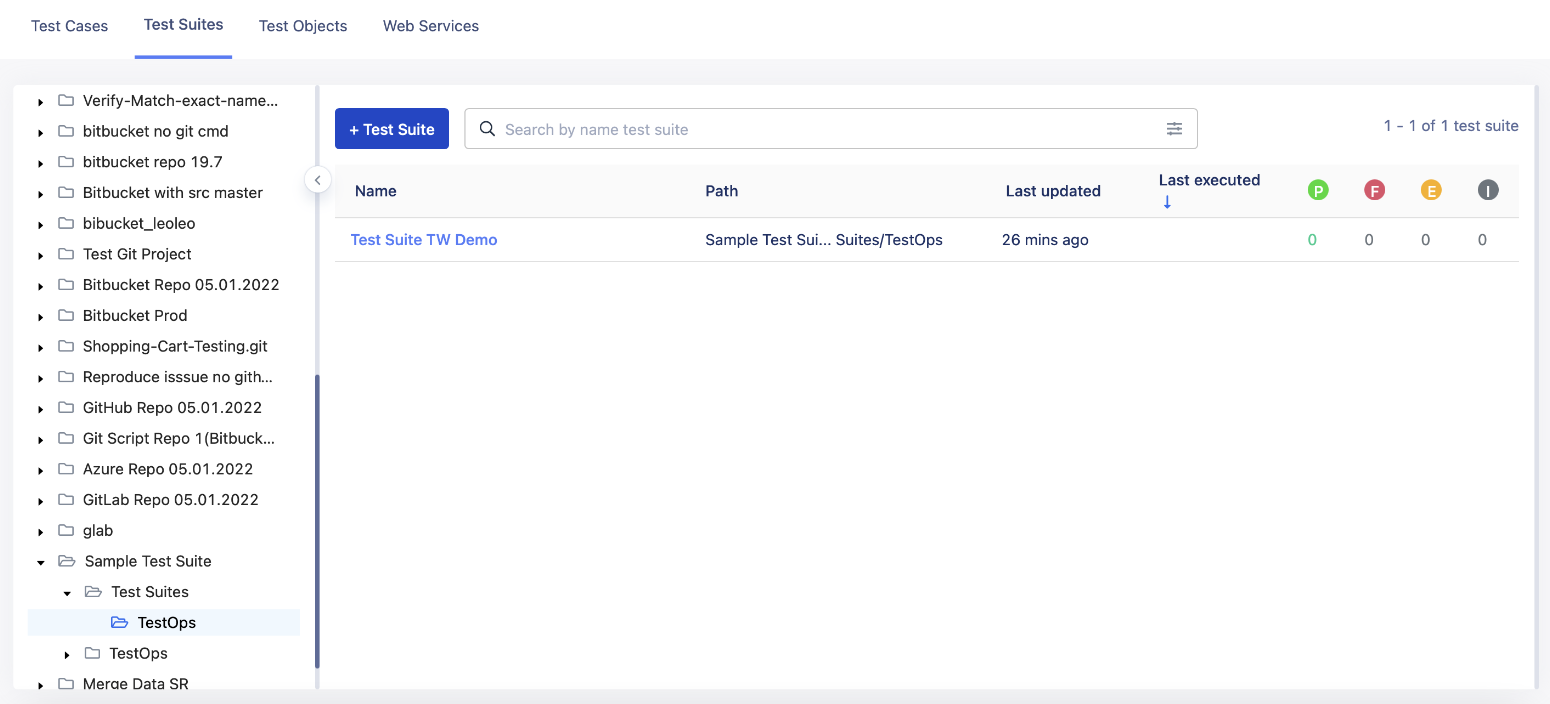
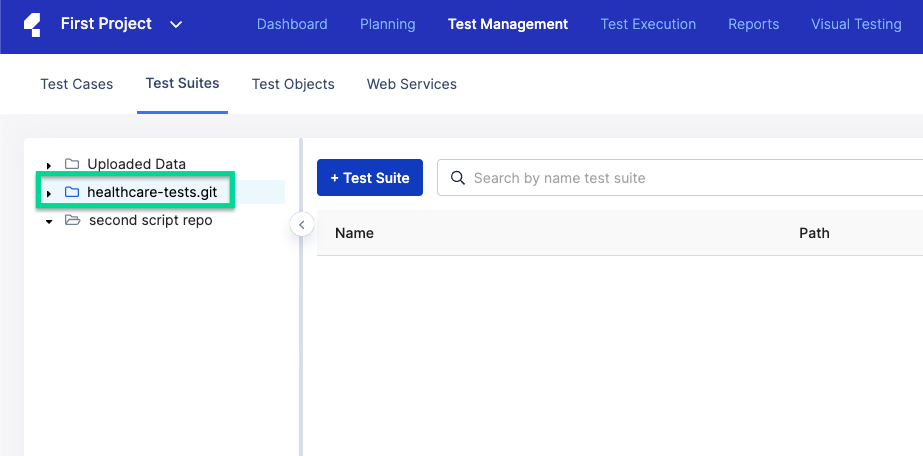
- Find and click your desired script repository in the folder list on the left sidebar.
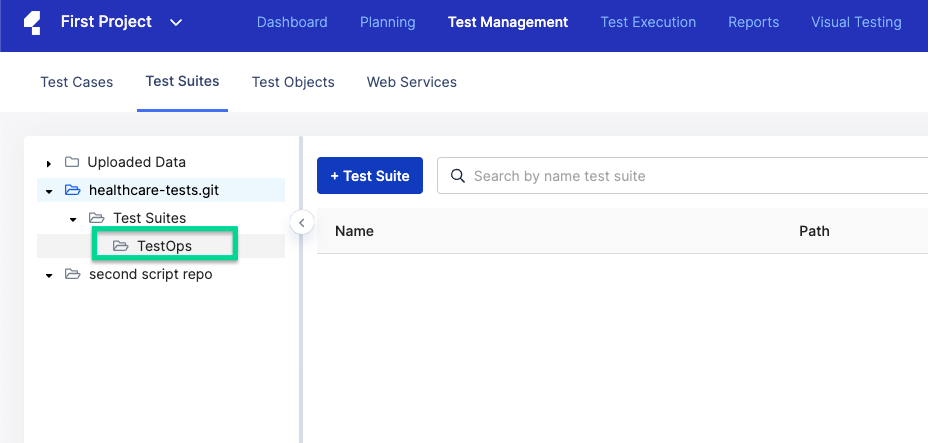
- Select the script repository's sub-folder Test Suites, then TestOps.
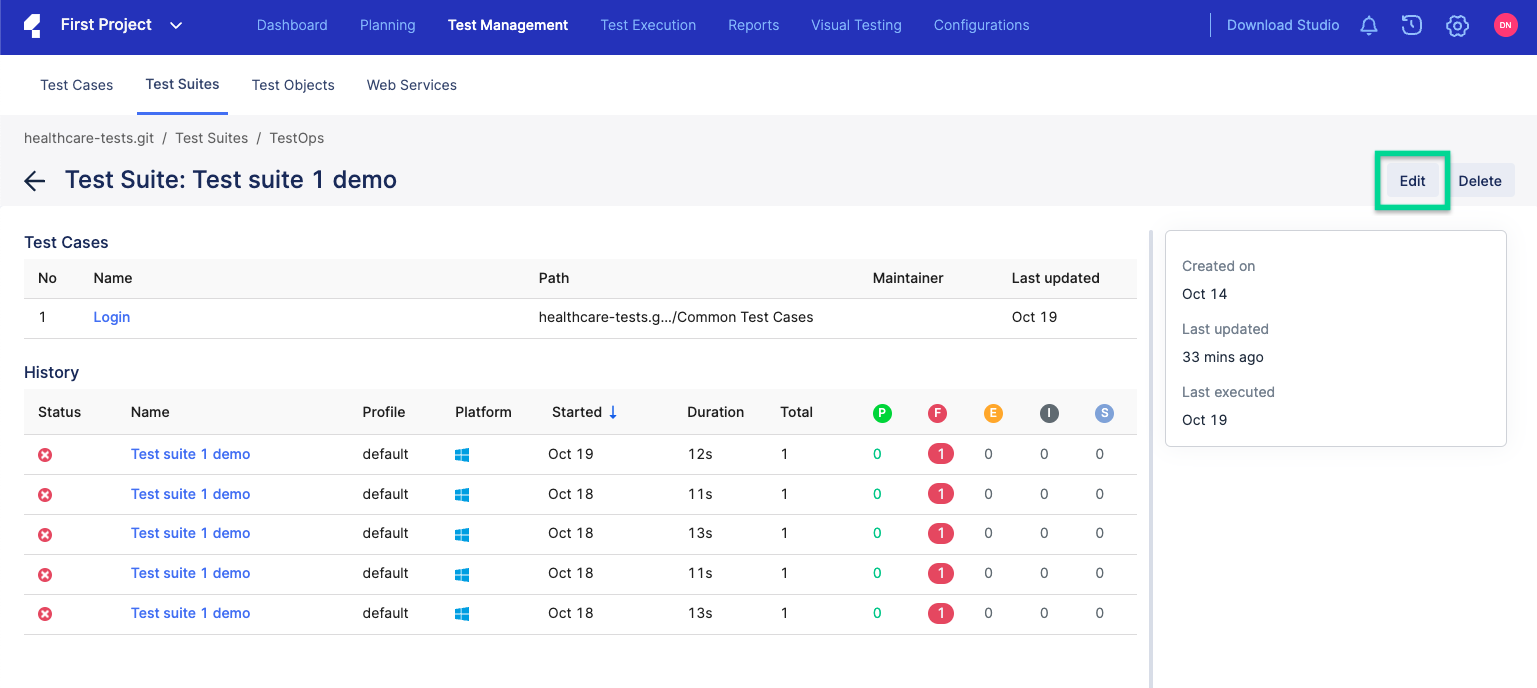
- Click Edit in the top right corner of the test suite page.
- Update the test suite.
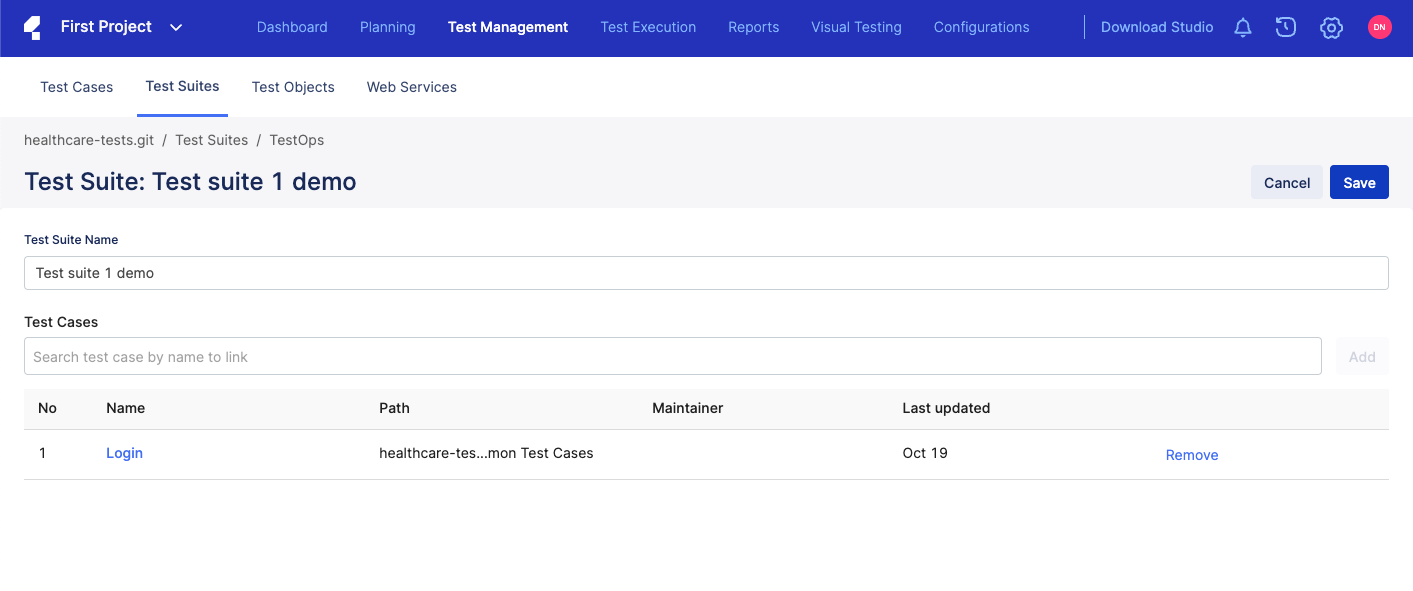
- You can edit the name in the Test Suite Name section.
- You can search a test case in the Test Cases section, then click Add to add the test case.
- You can remove a test case in the test case list by clicking Remove.
Delete a test suite
- You must have a test suite already created in TestOps.
- If you delete a test suite that contains execution data, the test suite will become a shell test suite. You can find it in the Uploaded Data folder.
- If the deleted test suite is linked with any scheduled test runs, it will be unlinked from the schedule.
- A shell test suite is automatically created to store deleted test data.
For example:
On TestOps, navigate to Test Management > Test Suites. There are two test suites as below: 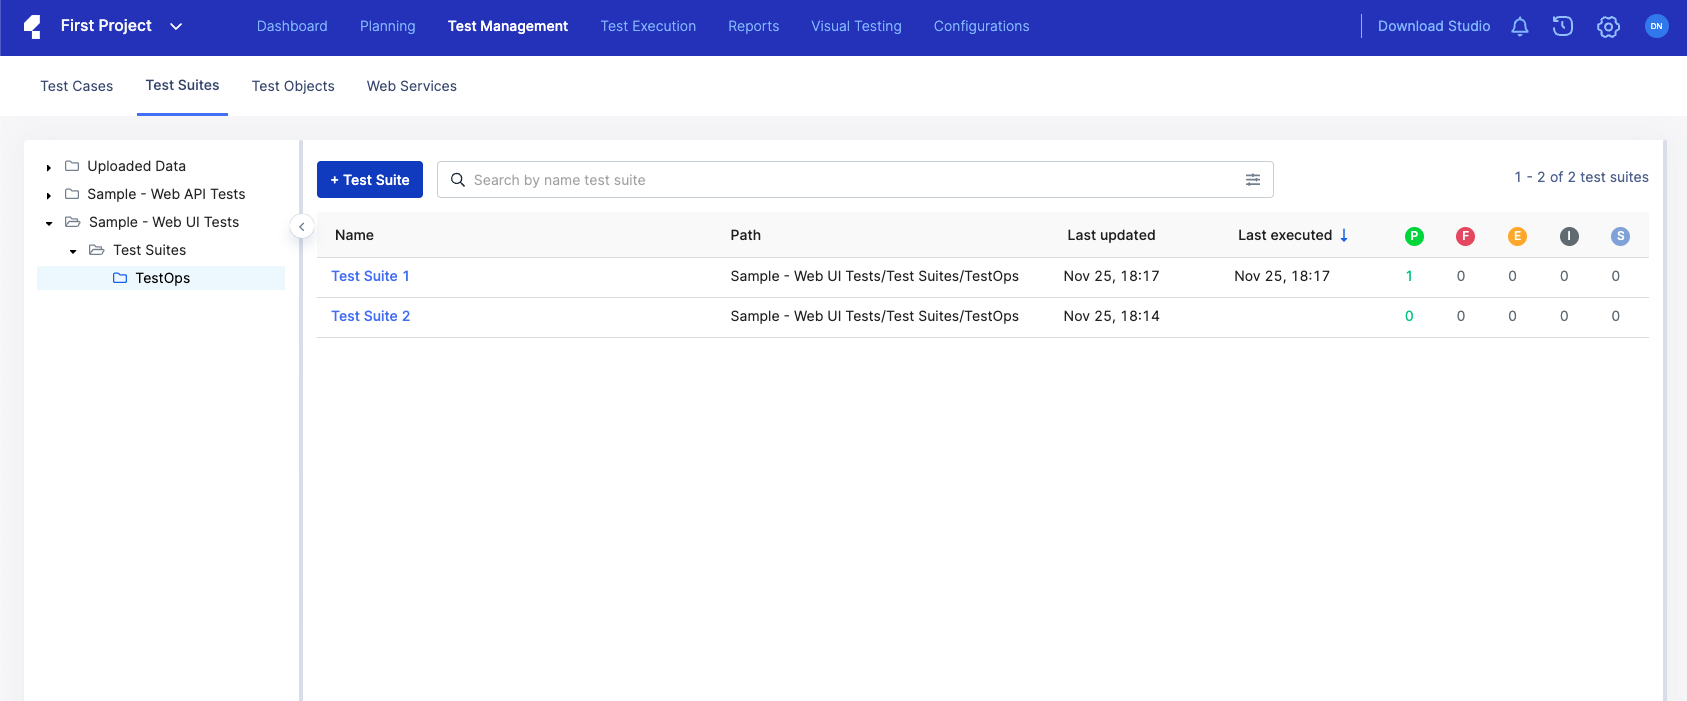
- Test Suite 1 has been executed and contains execution data.
- Test Suite 2 has never been executed.
If you delete Test Suite 1, shell test suites will be automatically created under the Uploaded data folder to store the deleted Test Suite 1, as it contains executed data: 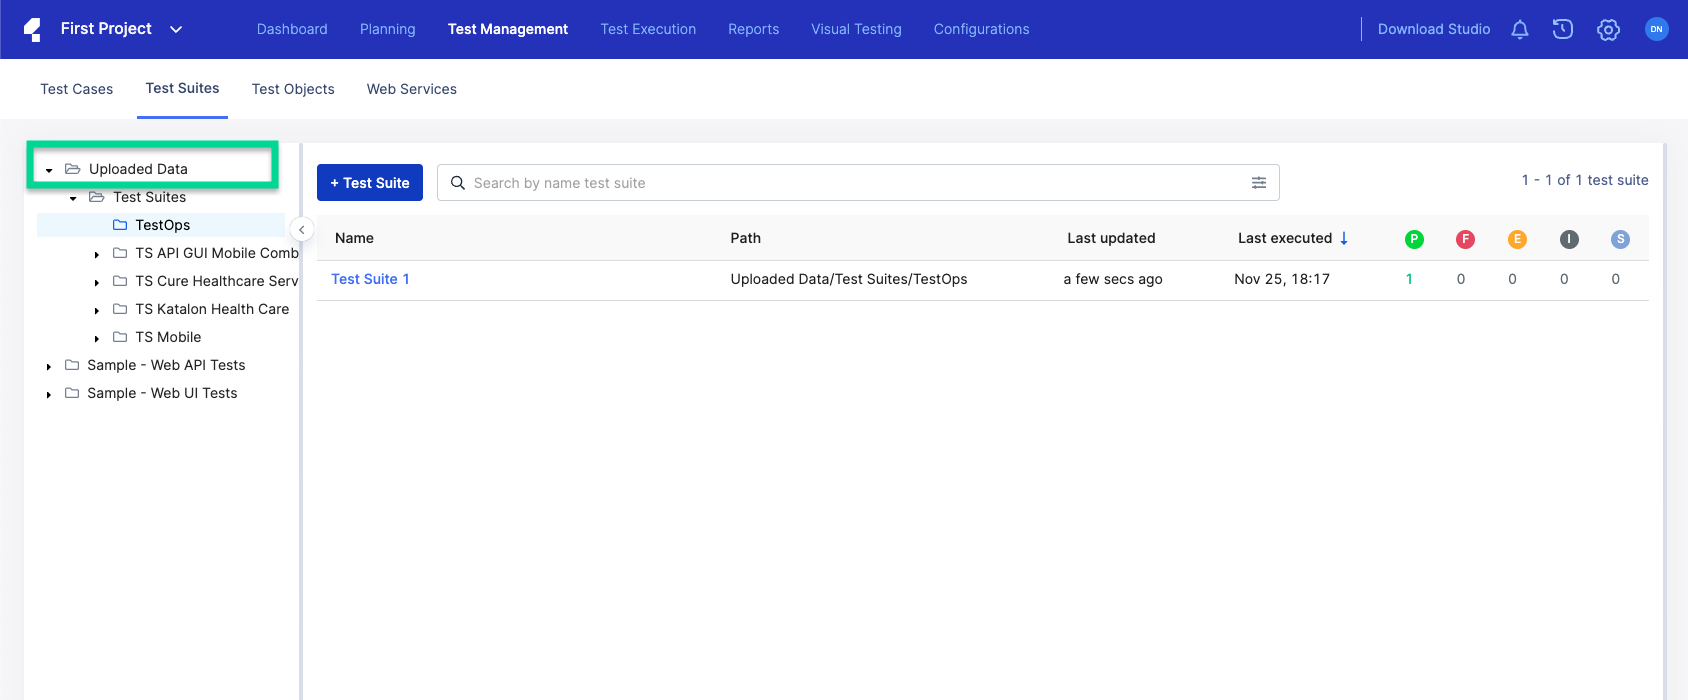
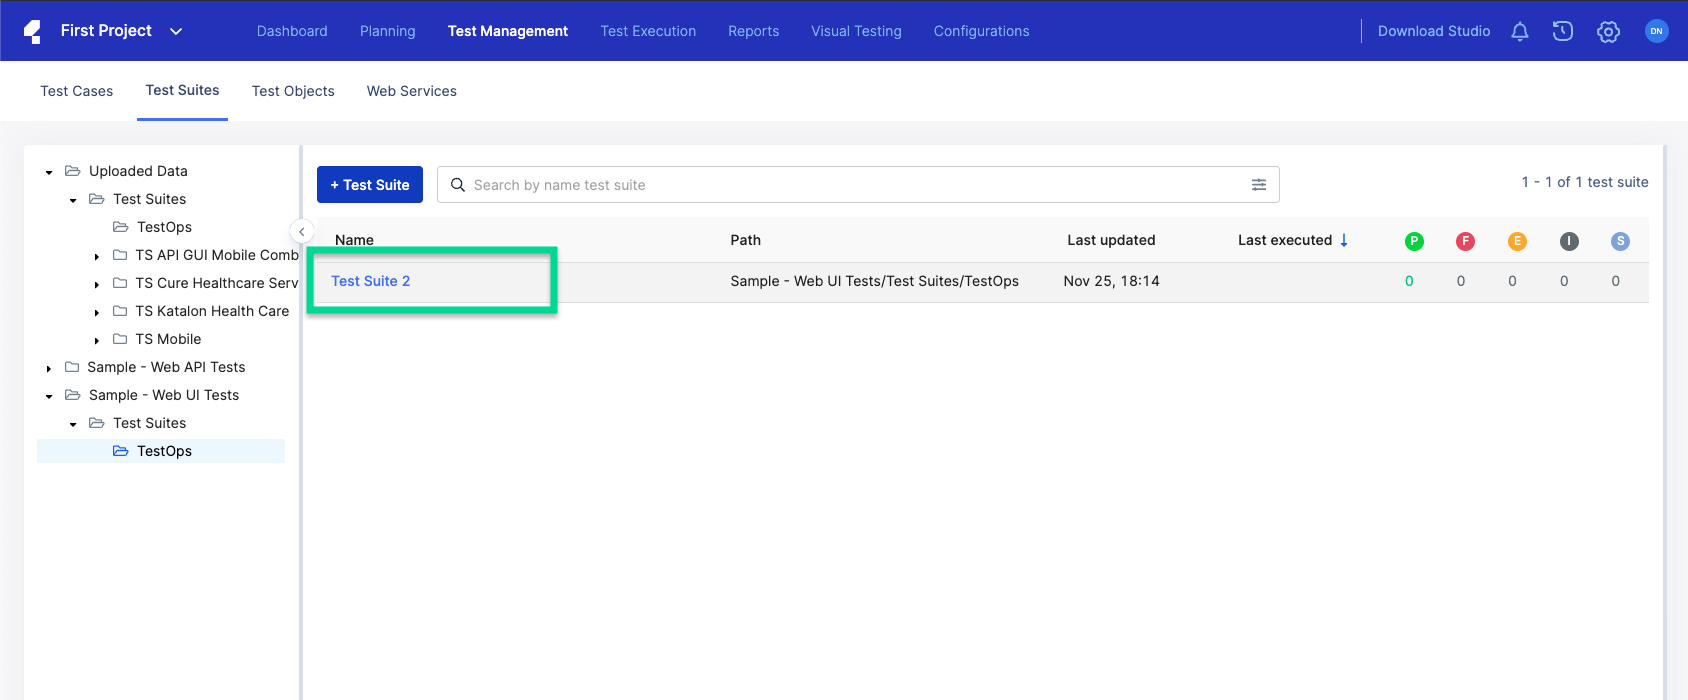
If you delete Test Suite 2, it will be removed from TestOps completely, as it does not contain executed data.
Steps to delete a test suite
- Click the test suite to view its details.
- Click the Delete button.
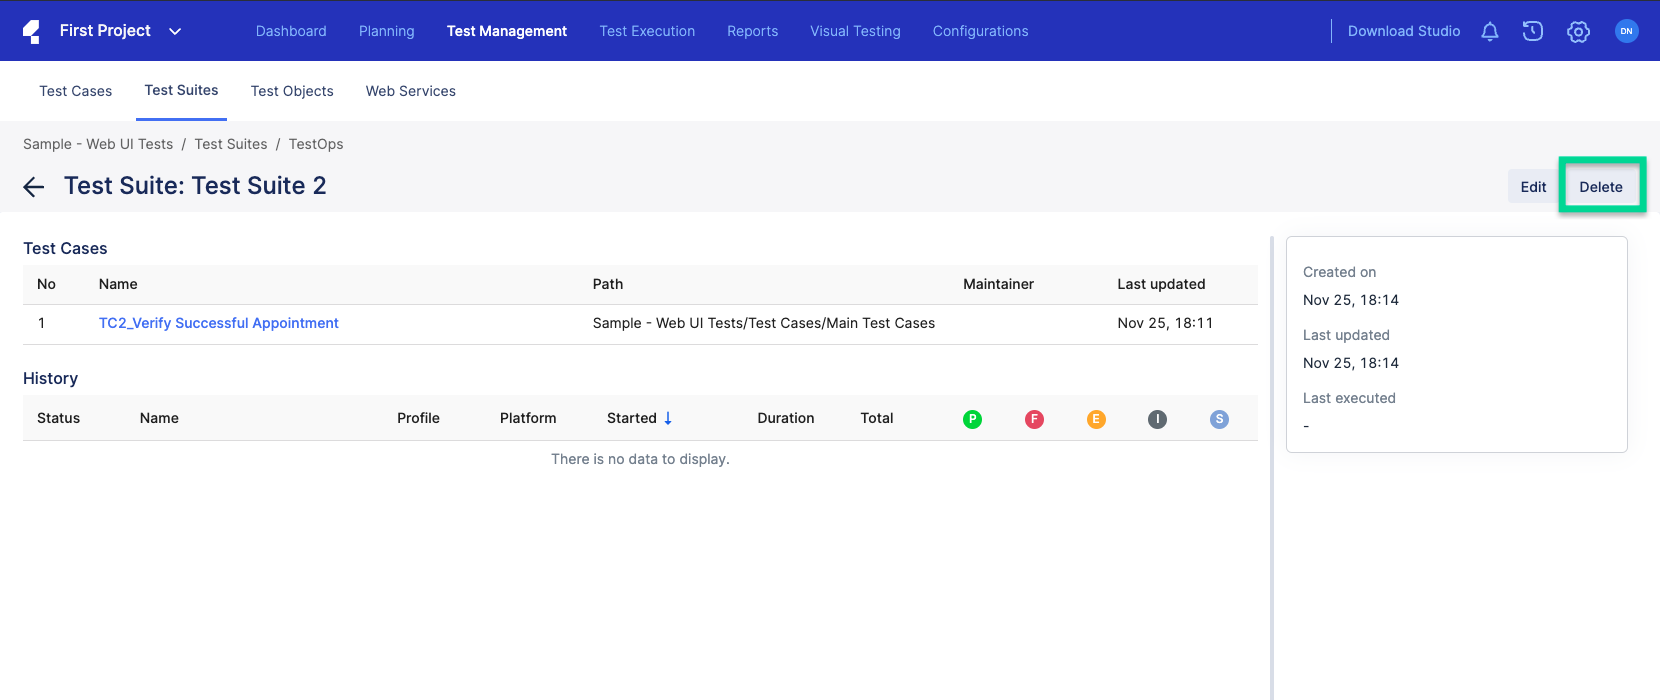
- The Confirmation dialog box appears, click the Delete button in the dialog box to confirm.
